Visual Composer
Visual composer documentation is an essential part of theme , visual composer developers have created an awesome documentation for vc , if you are unfamiliar with visual composer please read vc documentation. We have created several componets for visual composer , click here to view images for block you need to create and click image to go documentation for this block.
Please read documentation for work with row column and add custom heading.
Visual Composer Row
How to Add Row and Column with Visual Composer for WordPress video
Majesty themes add many parameter to row element like:
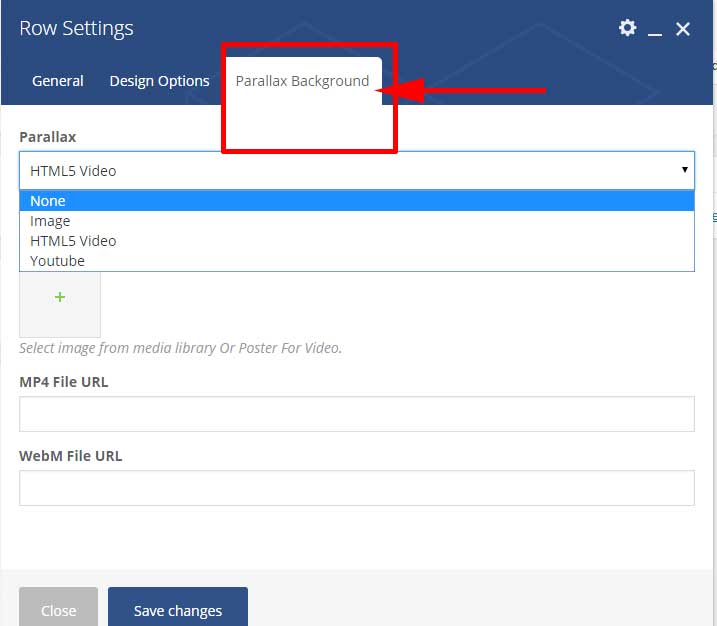
- Parallax Background
- Useful to Add Parallax Image Background.
- HTML5 Video Bavkground.
- Youtube Video Background.
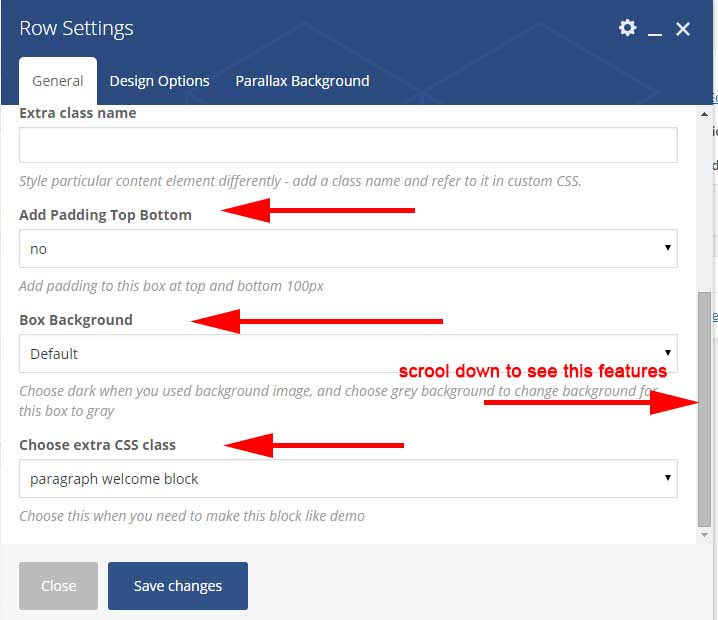
- Box Background [default mean no bg - grey background - dark - themecolor]. dark[ useful when using background image to make text color white]
- Padding usefull to add padding bottom and top to this element.
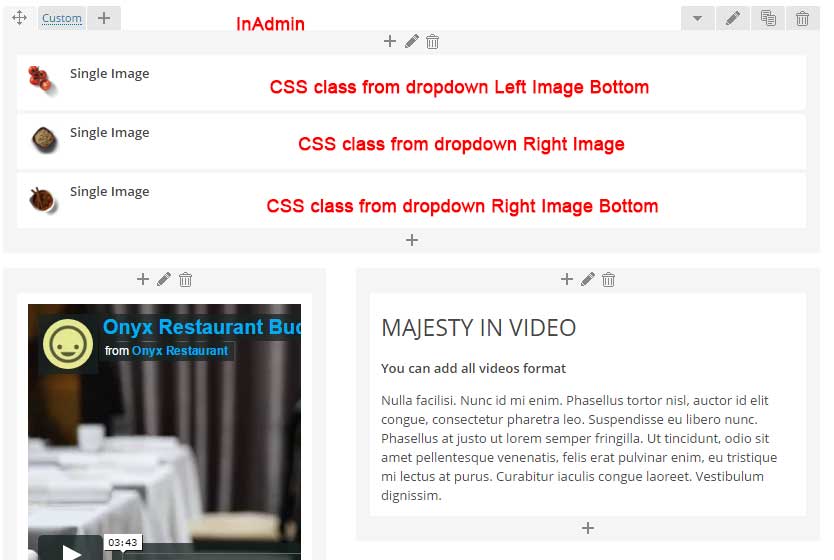
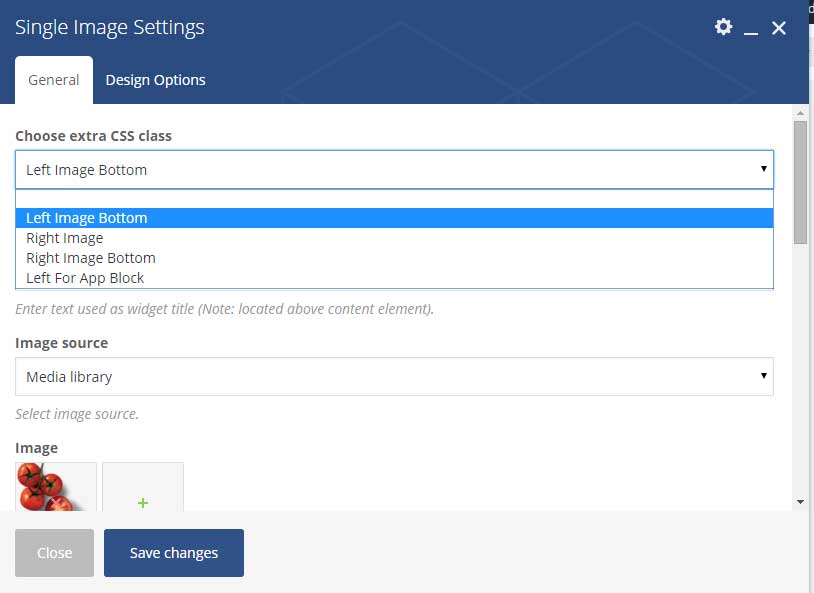
- Choose extra CSS Class. [from dropdown menu]
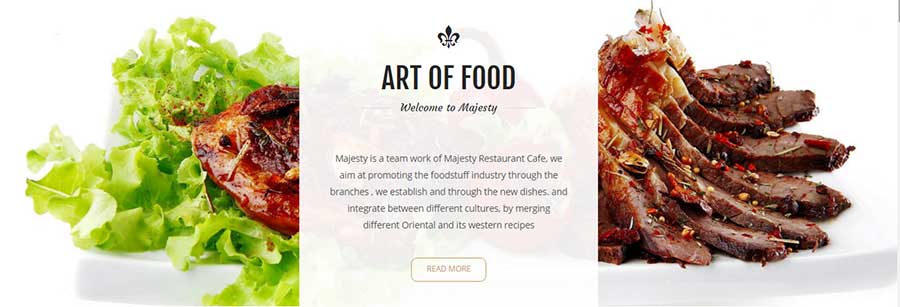
- paragraph welcome block. [used in this block and used in this block 17]
- Black Background. [used in this block]
- Clients Images. [used in this block]
- App Blocks. [used in this block]
- Art Block. [used in this block]
- Chef Block Style 1. [used in this block]
- paragraph discover. [used in this block]
- Chef Block Style 2. [used in this block]
- Video Block with image aboslute positions.[used in this block]
- Pricing table without margin. [used in this block]
Visual Composer Column
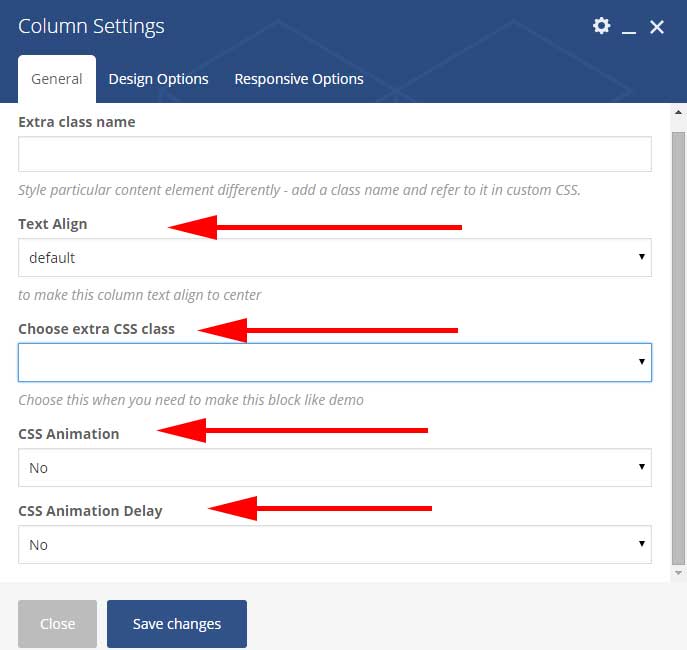
Majesty themes add this features to column:
- Text Align by default center.
- Choose extra CSS class this CSS Class useful for some elements.
- No Padding Used to make this column no padding left or right usefull when select Stretch row.
- Columns contain one Image with absolute position. [used in this block]
- paragraph With absolute position. [used in this block]
- Columns have image with absolute position. [used in this block]
- Center content in screen. [used in this block]
- CSS Animation type. [Useful when element not have css animation]
- CSS Animation Delay.
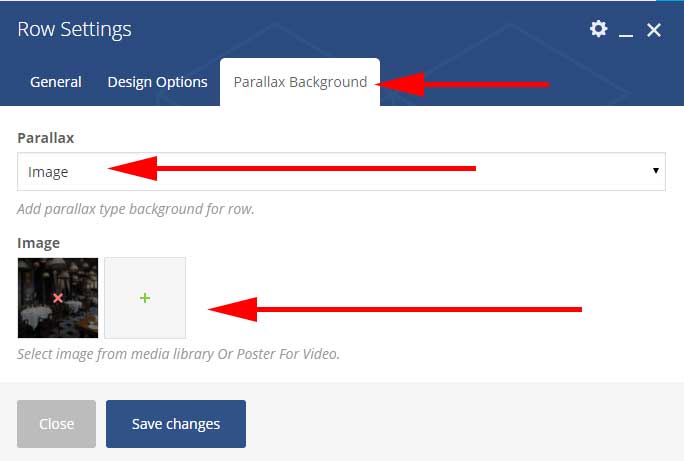
Create Parallax Background
- Edit row settings click Parallax Background tab.
- From dropdown menu parallax type select image.
- Upload Your Image
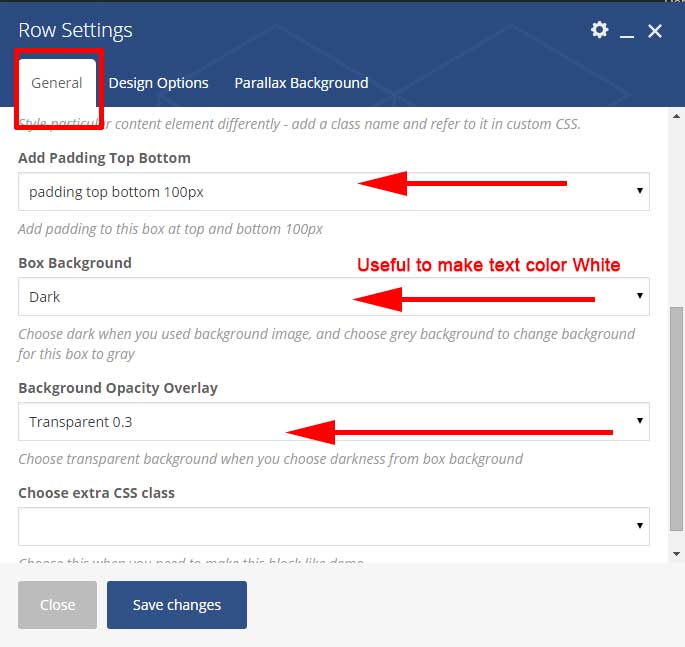
- in row settings click General tab.
- Field Add Padding Top Bottom select padding top bottom 100px this padding is used in most element in majesty.
- Field Box Background select Dark this is useful to make text color white inside this Element.
- Field Background Opacity Overlay select transparent is 0.3 OR change it to what you need.
Create Video Background
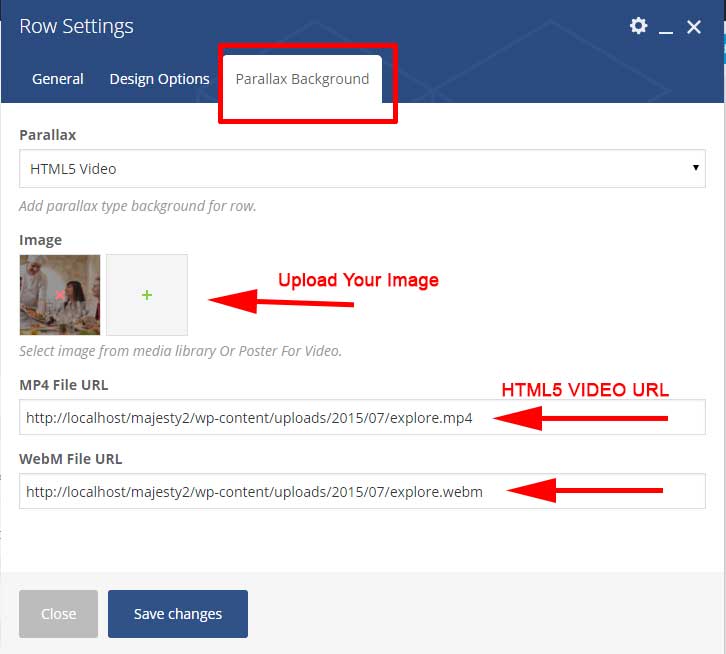
- Edit row settings click Parallax Background tab.
- From dropdown menu parallax type select HTML5 Video OR Youtube and ADD URL To Your video.
- Upload Your Poster Image. [this is good is user use browser not support video to display this image]
- in row settings click General tab.
- Field Add Padding Top Bottom select padding top bottom 100px this padding is used in most element in majesty.
- Field Box Background select Dark this is useful to make text color white inside this Element.
- Field Background Opacity Overlay select transparent is 0.3 OR change it to what you need.
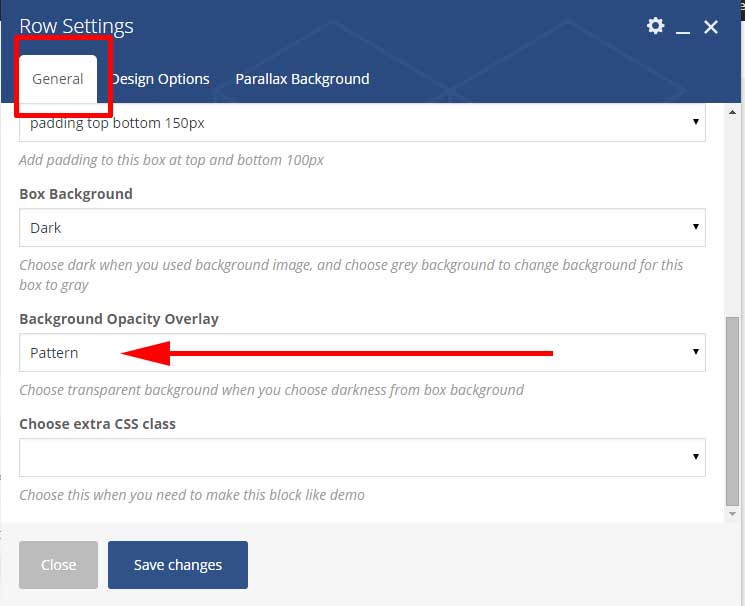
Use Pattern For BG
- Edit row settings.
- Field Background Opacity Overlay select Pattern.
Add Custom Heading
here coverd to create 3 header styles.

Header 1
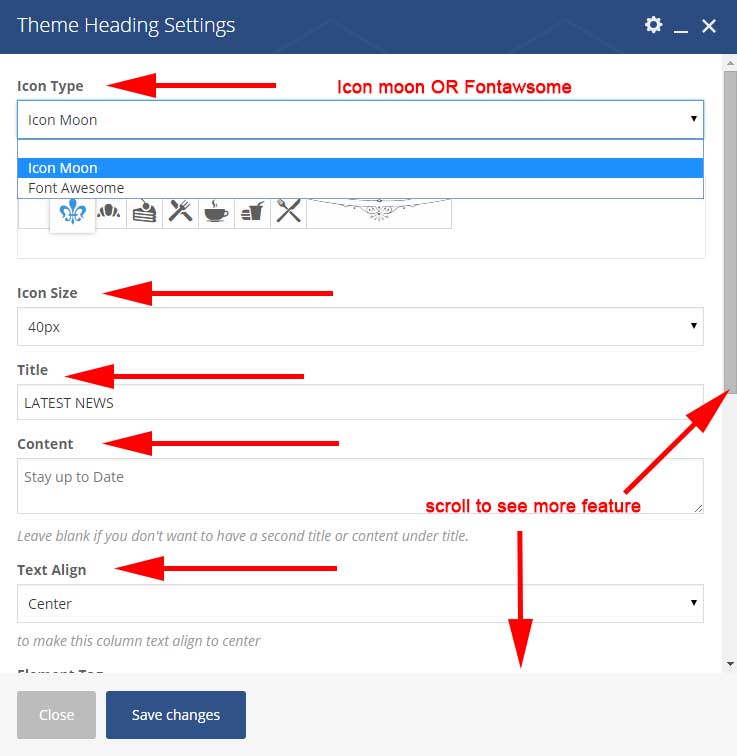
- From Visual composer click add new element open popup.
- click tab by samathemes.
- click Theme heading.
- Add your title and content and select animation you need.
- Save changes.

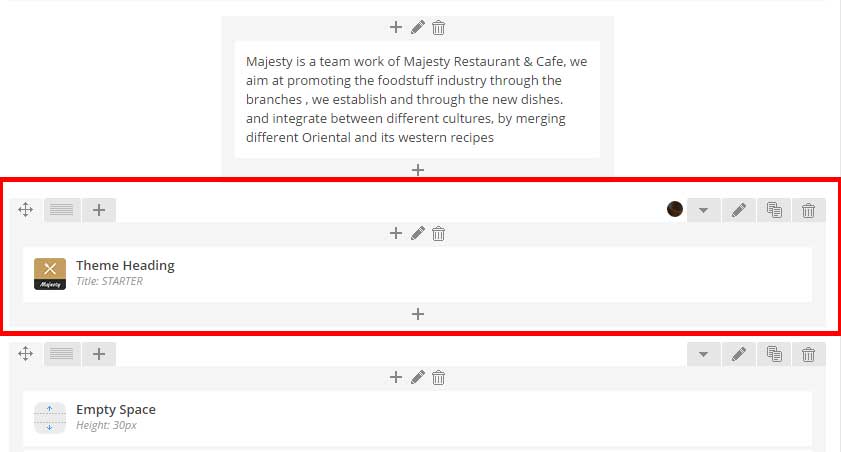
Header 2
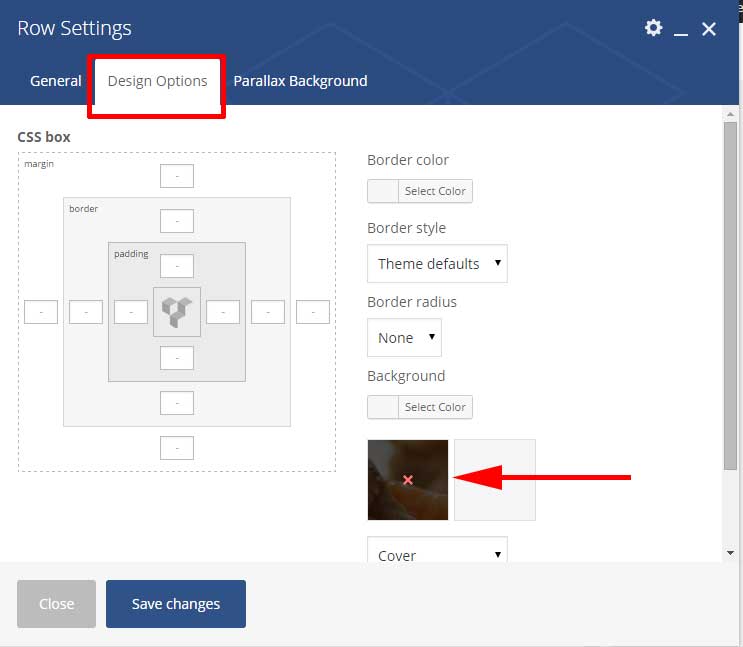
- to create header above.
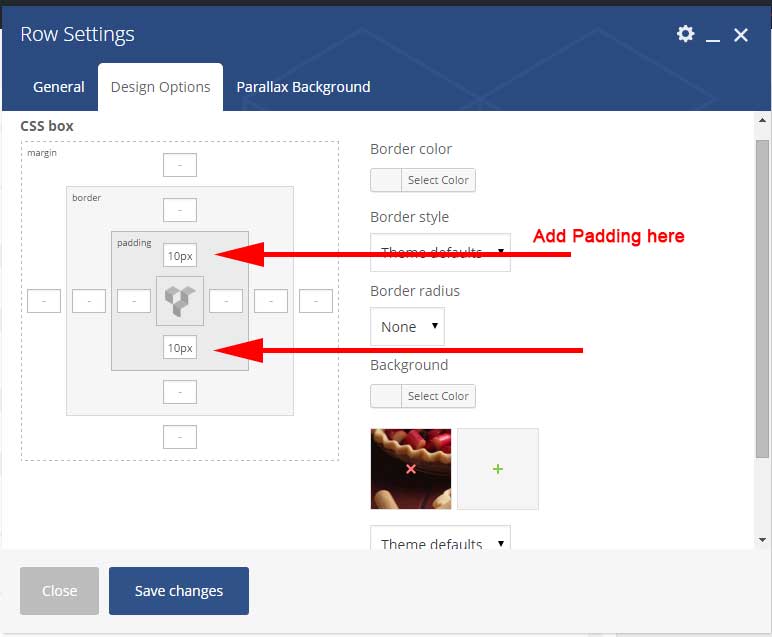
- Edit Row settings and click Design Options tab and upload your image.
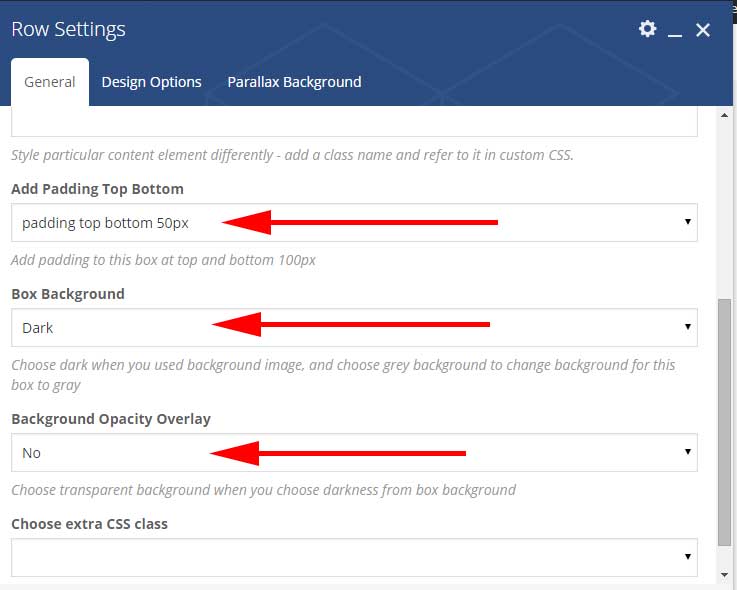
- in row settings click General tab.
- Field Add Padding Top Bottom select padding top bottom 50px.
- Field Box Background select Dark.
- From Visual composer click add new element open popup.
- click tab by samathemes.
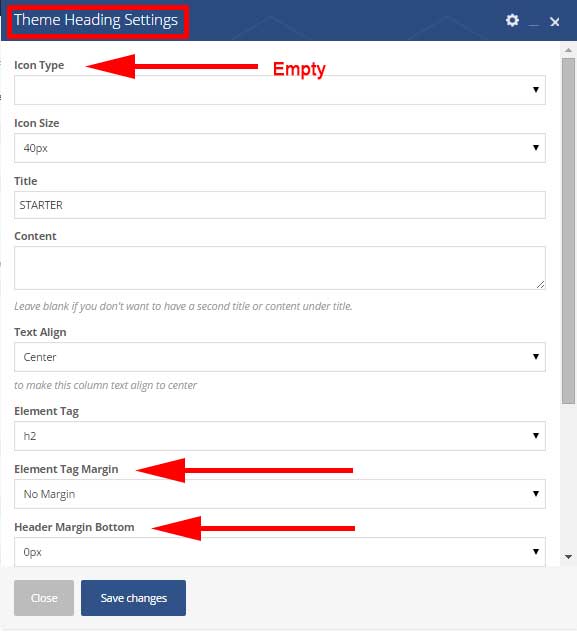
- click Theme heading.
- Add your title and content.
- For icon type make it Empty.
- field Element Tag Margin make it no margin.
- Field Header Margin Bottom make it no margin.
- Save changes.

Header 3
- to create header above this is like header 2 but different is.
- Edit Row settings and click Design Options tab and upload your image.
- Add padding in design options tab 10px.
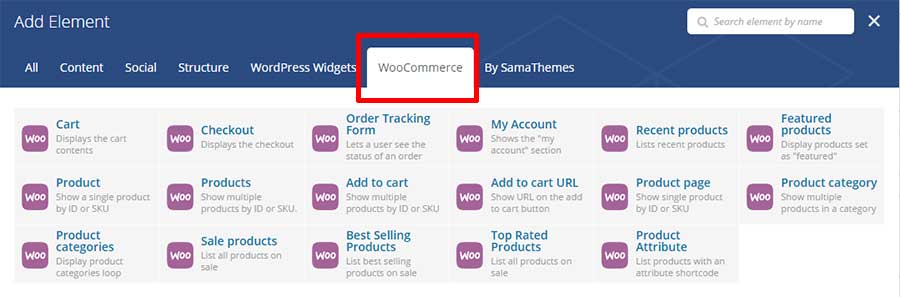
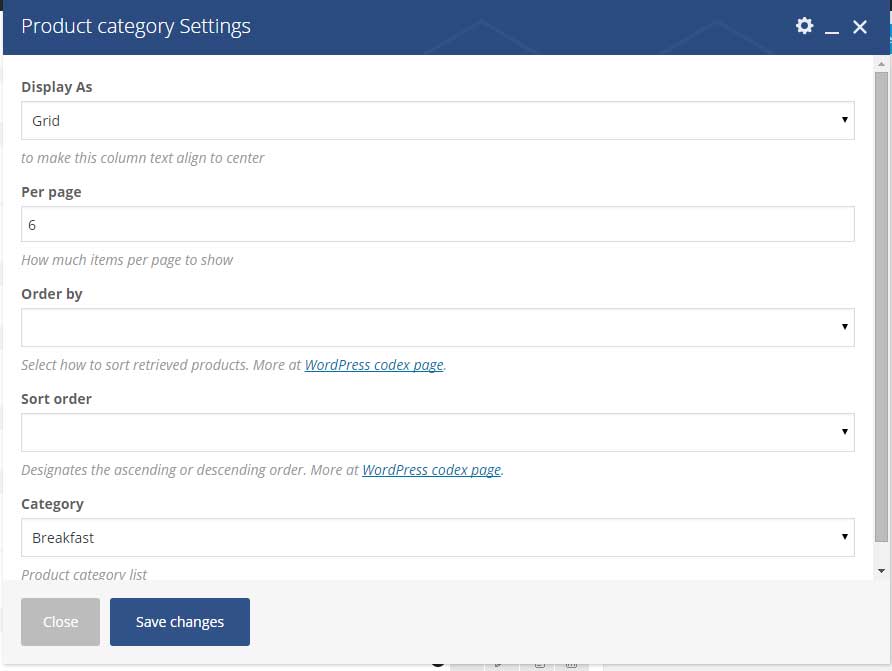
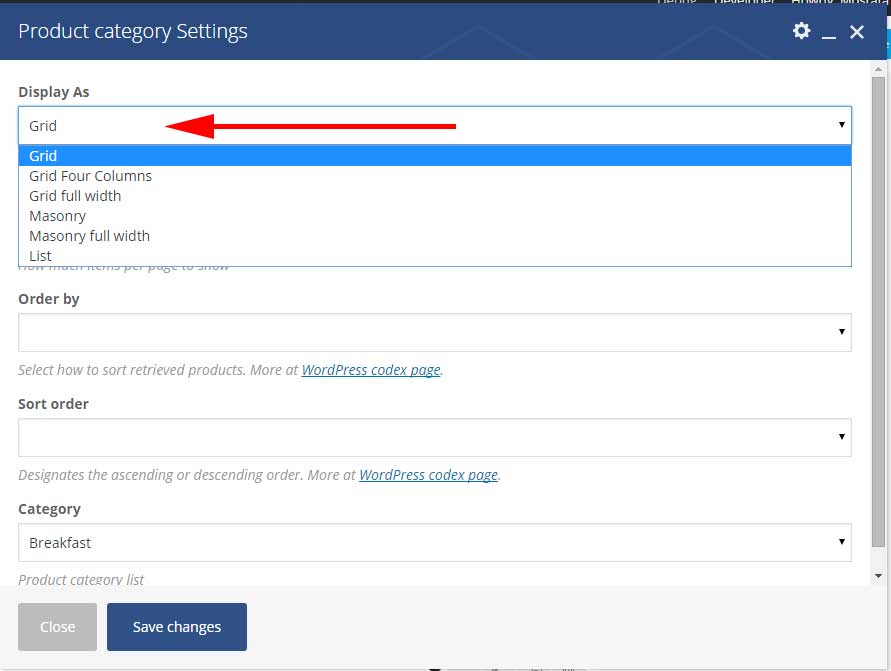
VC WooCommerce Shortcode
Visual Composer provid User interface form for all wooshortcode.
and Majesty themes add new element replace columns value with layout that display 6 layout.
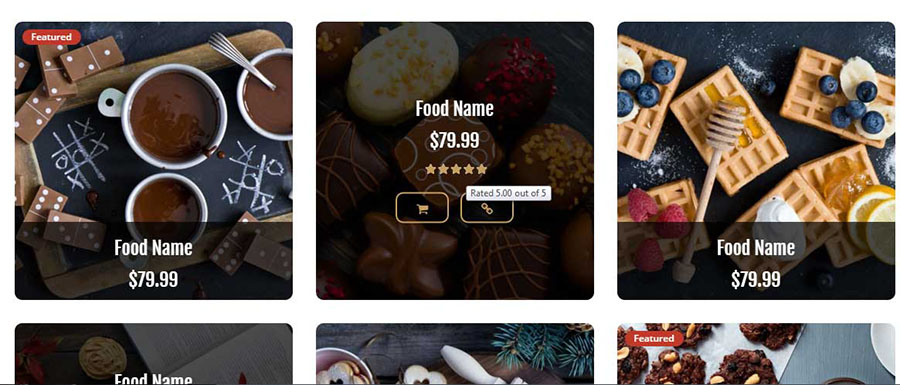
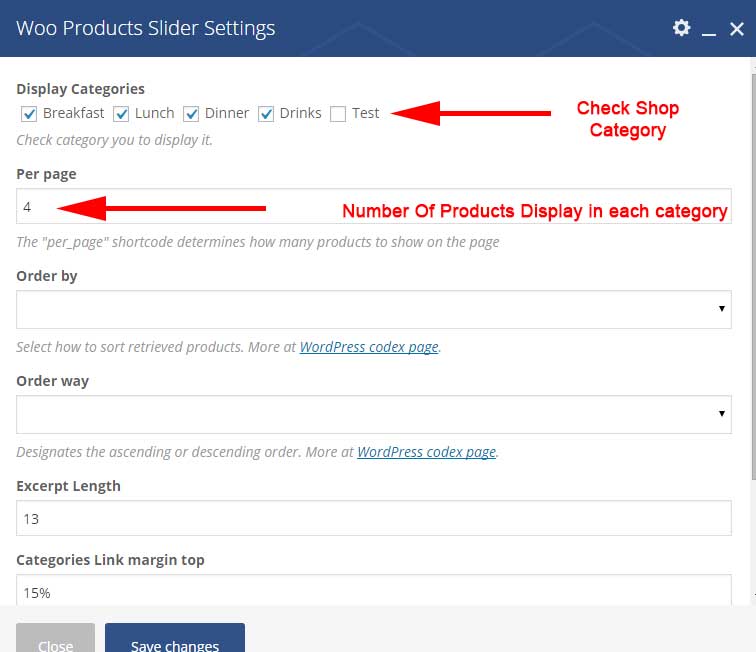
VC Woo Products Slider
Majesty Create new Element For Visual Composer is Woo Products Slider thats display slider for products by Shop Category.
- From Visual composer click add new element open popup.
- click tab by samathemes.
- click Woo Products Slider.
- Check Category you need to display.
- Save changes.
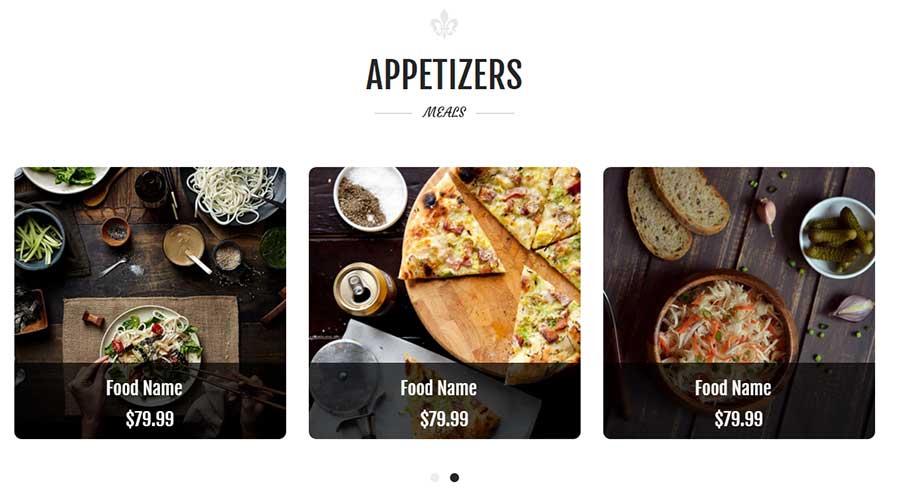
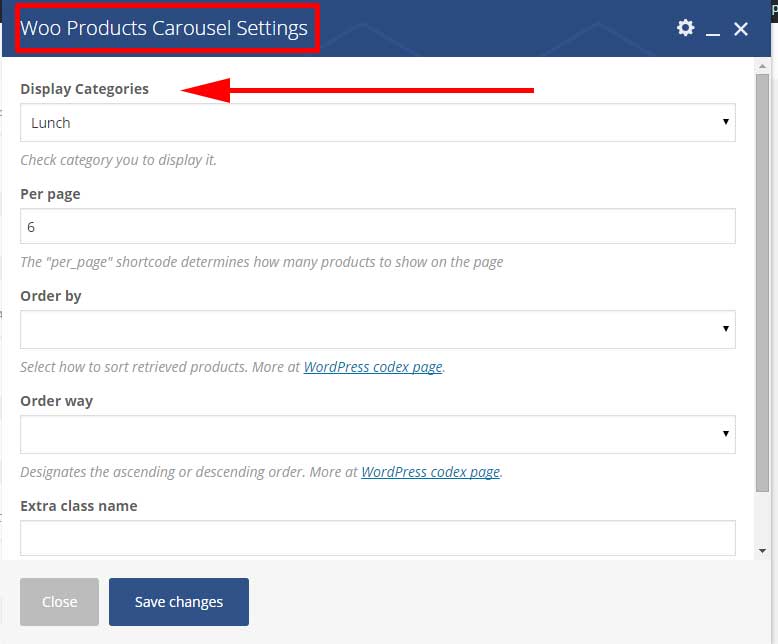
VC Woo Products Carousel
Majesty Create new Element For Visual Composer is Woo Products Carousel thats display carousel for products by Shop Category.
- From Visual composer click add new element open popup.
- click tab by samathemes.
- click Woo Products Carousel.
- Select Category you need to display.
- Save changes.
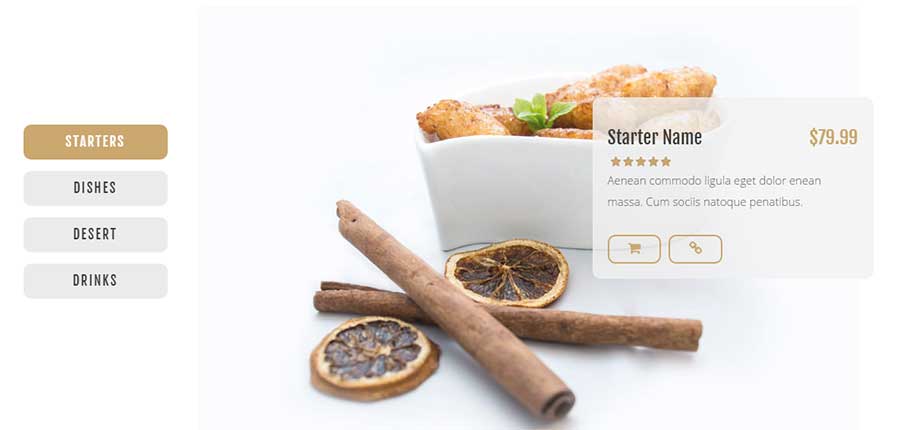
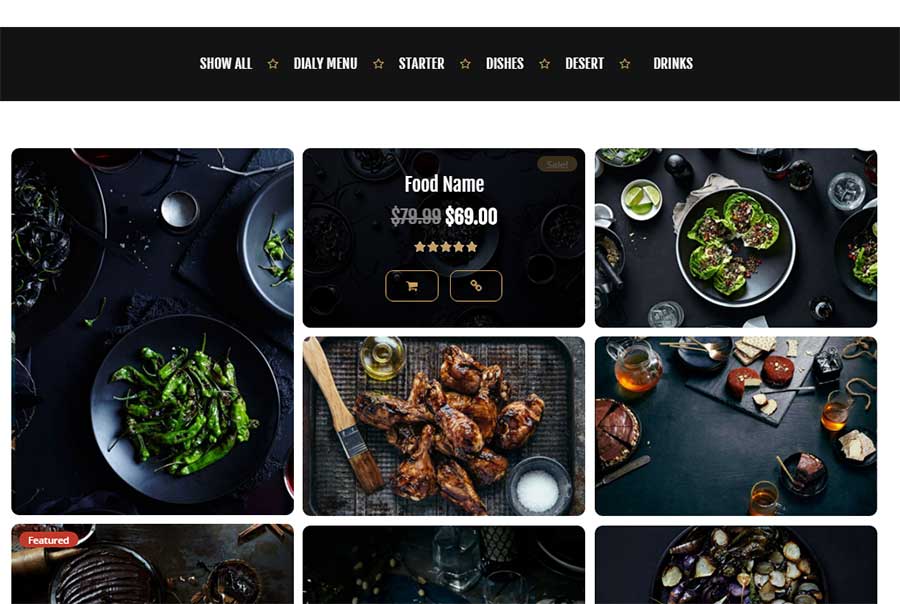
VC Woo with Fliters
Majesty Create new Element For Visual Composer is Woo with Fliters thats filter products by Shop Category.
- From Visual composer click add new element open popup.
- click tab by samathemes.
- click Woo with Fliters.
- check Categories you need to display.
- Save changes.

Block 1 TextBox -Block 1

- Edit row settings from field Choose extra CSS class select paragraph welcome block.
- make your row 2 column.
- Edit Column settings that contain text and in field text align select center
Block 2 TextBox -Block 2

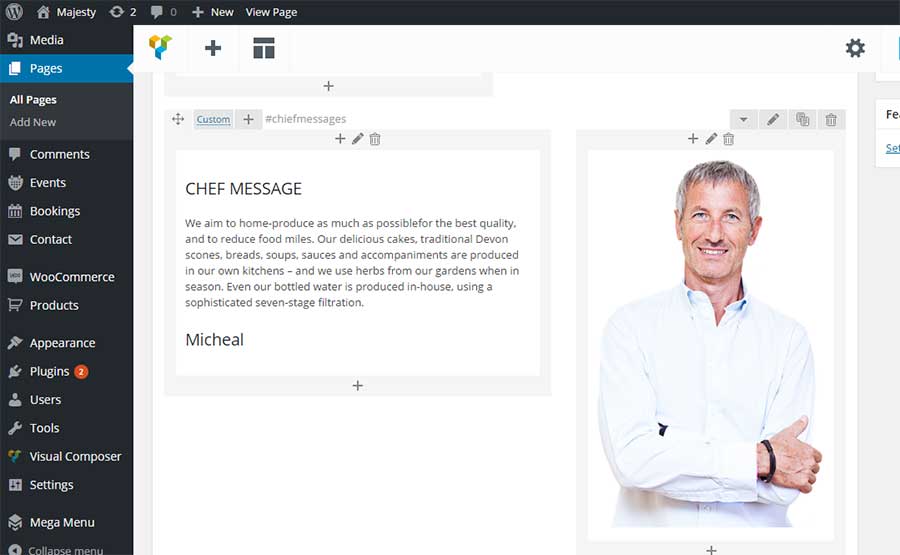
- Edit row settings from field Choose extra CSS class select Chef Block Style 2.
- make your row 2 column.
- Edit Column settings that contain image and from field Choose extra CSS class select Columns contain one Image with absolute position.
- to get signature font please add css class 'signature' to elemet in theme i add this class to h2.
Block 3 Team Memeber Carouser -Block 3
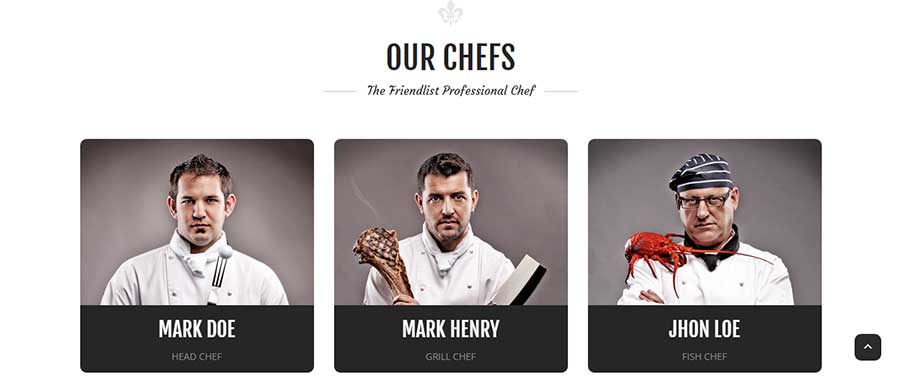
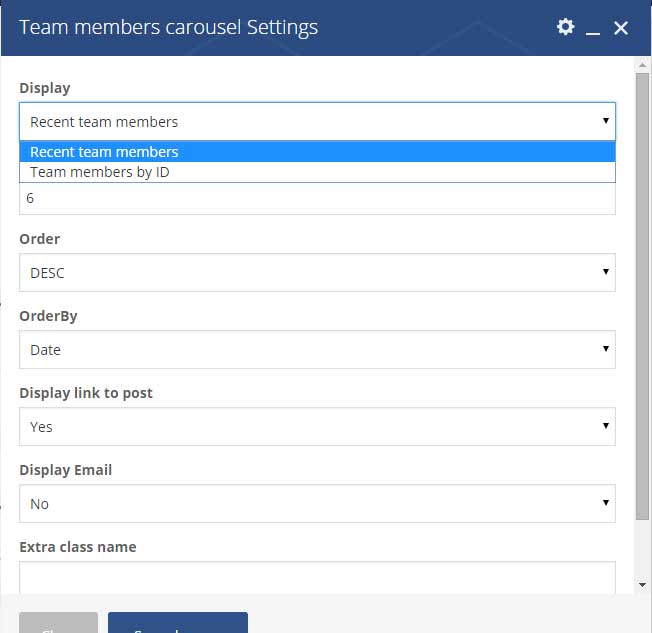
- Required plugin Team member by WooThemes.
- From popup Visual composer click tab by samathemes and select Team members carousel.
- you can display recent members or by id.
- If you select by id [use comma to Separates between ids].
Block 4 TextBox -Block 4

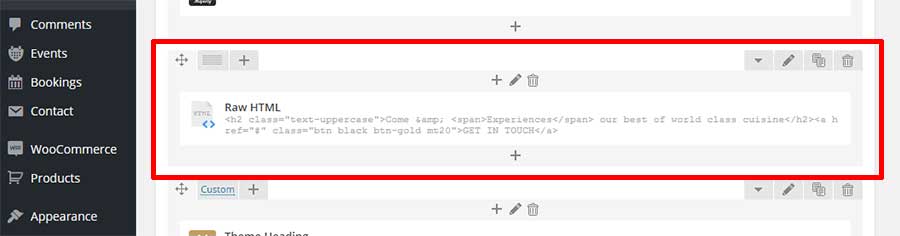
- Edit row settings from field Choose extra CSS class select Black Background.
- Field Box Background select Dark and field Background Opacity Overlay select no.
- From popup Visual composer select Raw HTML and add this text and change link URL.
<h2 class="text-uppercase">Come & <span>Experiences</span> our best of world class cuisine</h2>
<a href="#" class="btn black btn-gold mt20">GET IN TOUCH</a>
Block 5 TextBox -Block 5

- From popup Visual composer select Raw HTML and add this text and change link URL.
<h2 class="text-uppercase">Come & <span>Experiences</span> our best of world class cuisine</h2>
<a href="#" class="btn black btn-gold mt20">GET IN TOUCH</a>
Block 6 TextBox -Block 6

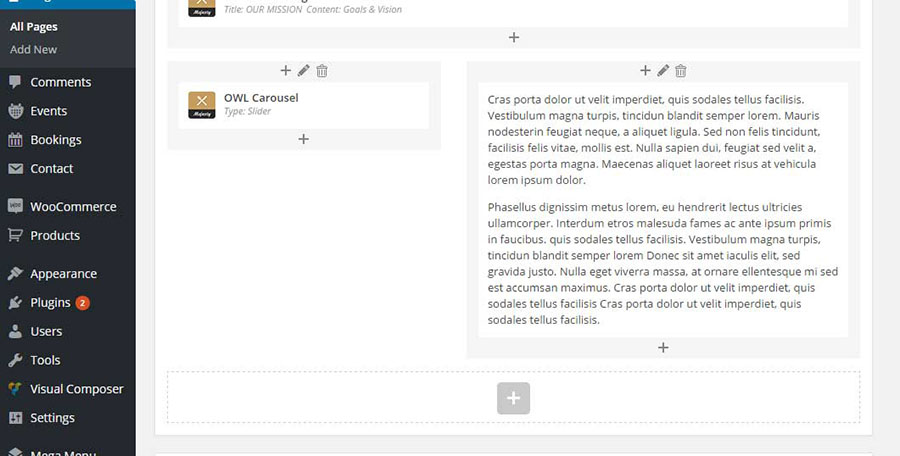
- Make your row 2 columns.
- For Slider
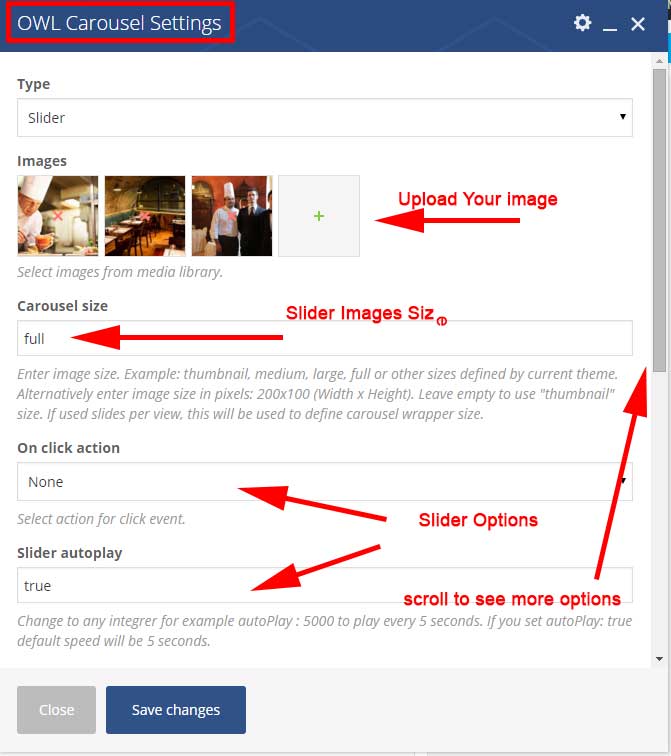
- From popup Visual composer click tab by samathemes and select OWL Carousel.
- upload you images and change slider options.
Block 7 Client Images -Block 7
- Make your row like image above.
- Edit row settings from field Choose extra CSS class select Clients Images.
- Each image you upload don't forget to add css class 'img-responsive'.
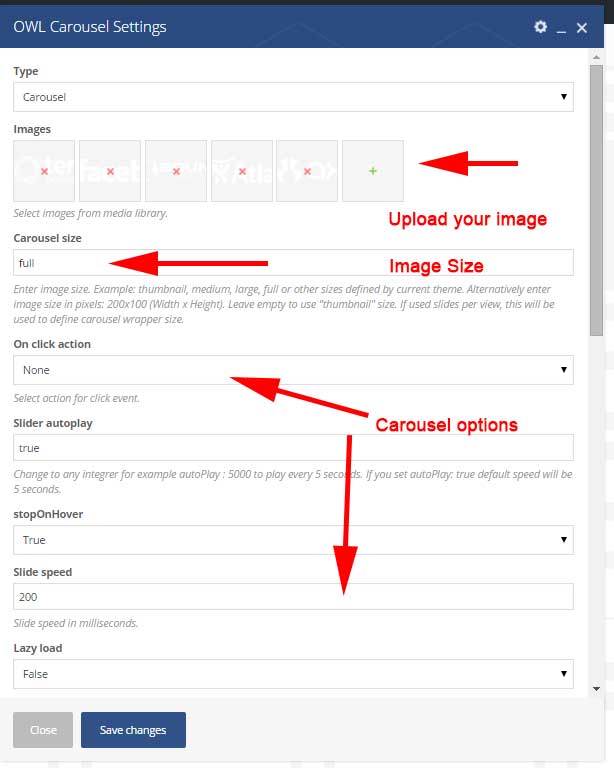
Block 8 Client Carouser -Block 8

- From Visual composer click add new element open popup.
- click tab by samathemes.
- click OWL Carousel.
- Upload your images.
- Control your carousr options without touch jQuery.
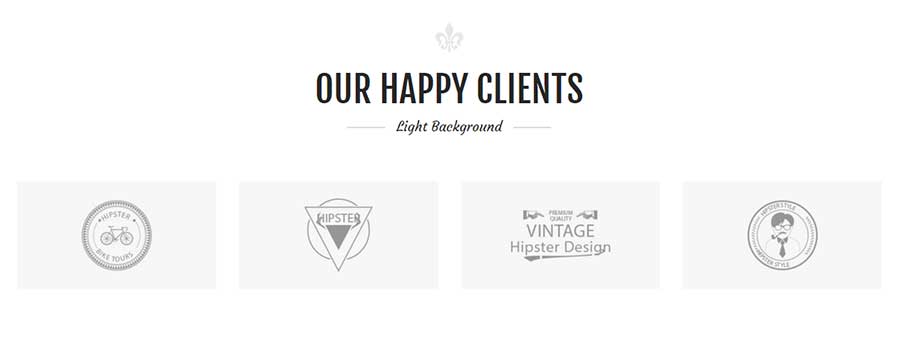
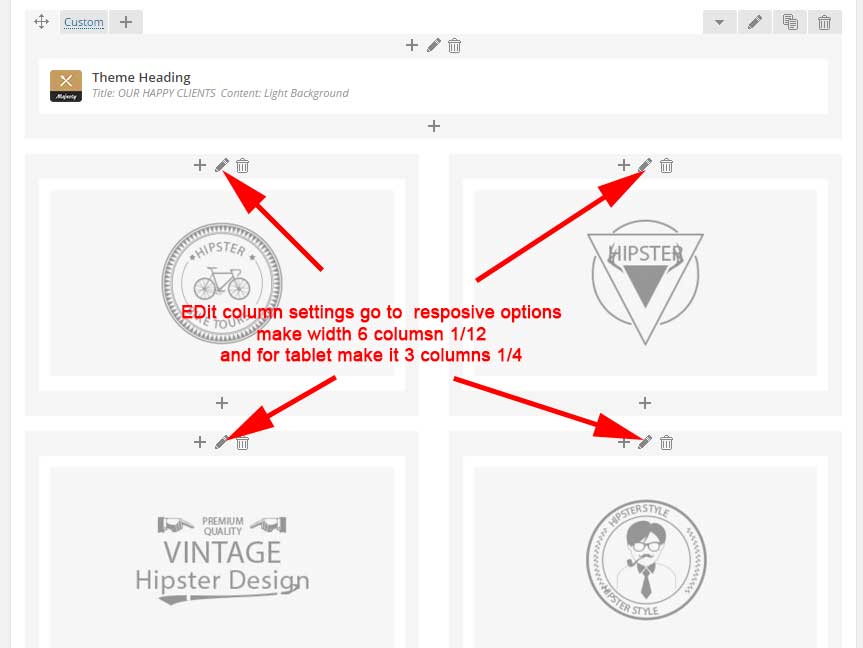
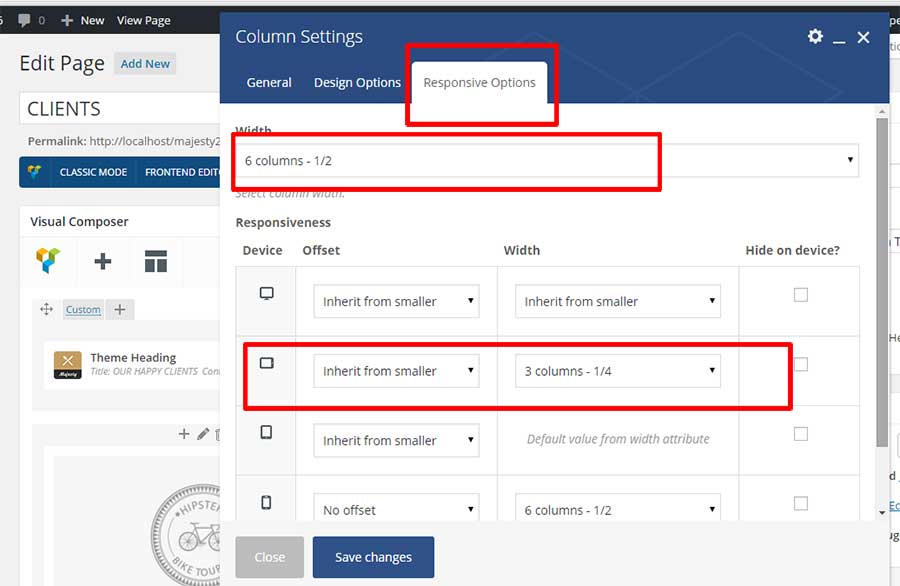
Block 9 Client Images -Block 9
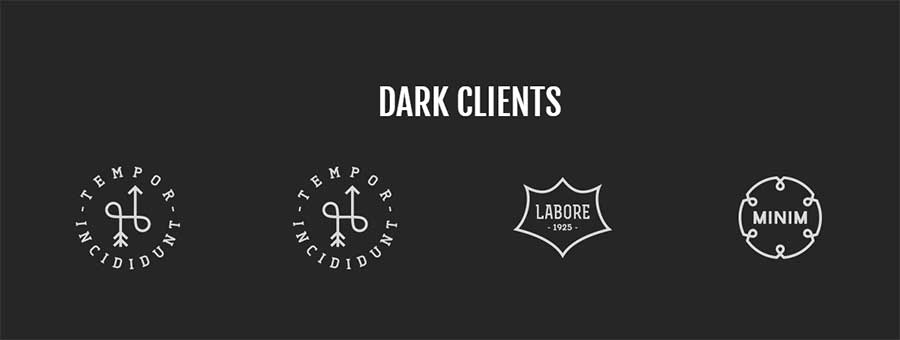
- Make your row with 4 columns.
- Edit row settings from field Box Background select Dark.
- Edit row settings from field Choose extra CSS class select Blackback ground.
- Edit row settings from field Extra class name Add CSS CLASS clients-container.
- Each image you upload don't forget to add css class 'img-responsive'.
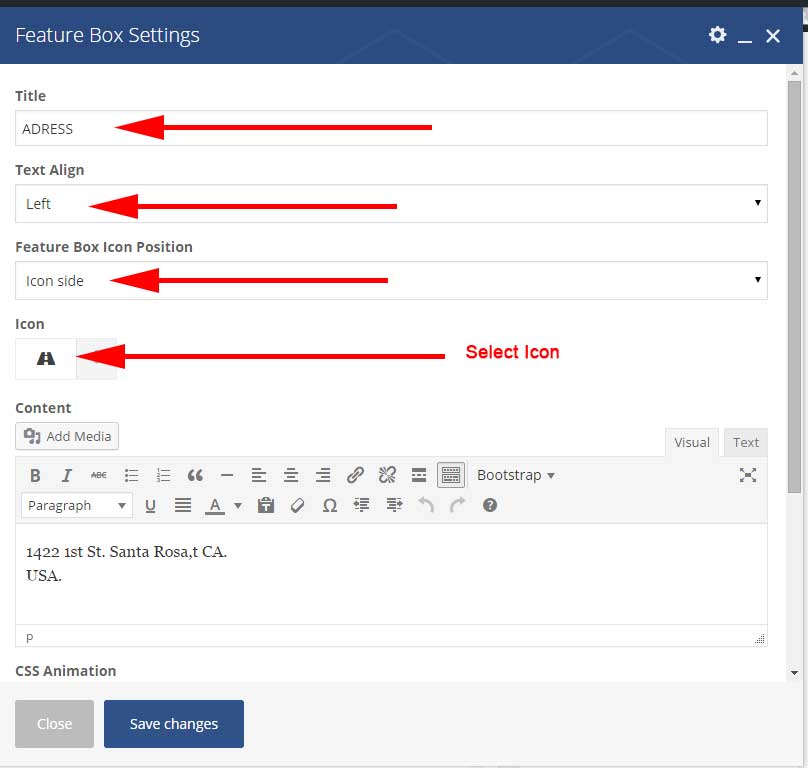
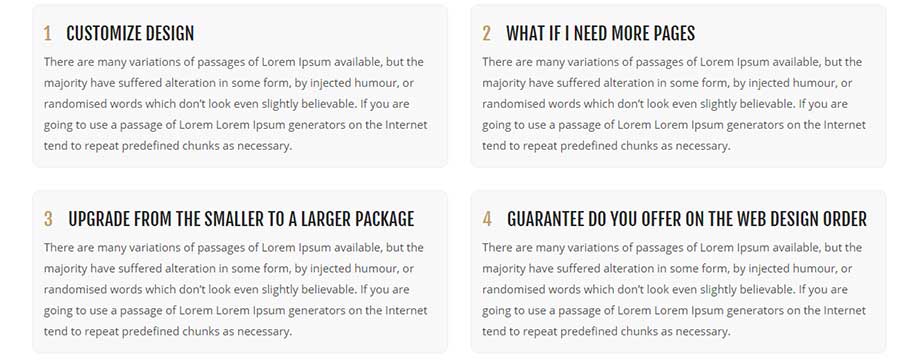
Block 10 Feature Box -Block 10

- From Visual composer click add new element open popup.
- click tab by samathemes.
- click Feature Box.
- Add your title ex: ADDRESS.
- Text Align select Left.
- Feature Box Icon Position select icon side.
- Select Your Icon
- Add Your content.
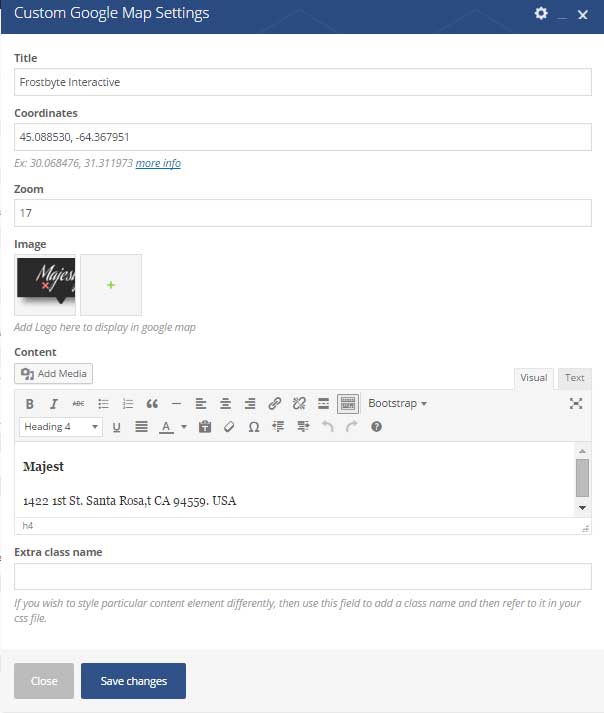
Block 11 Google Maps -Block 11
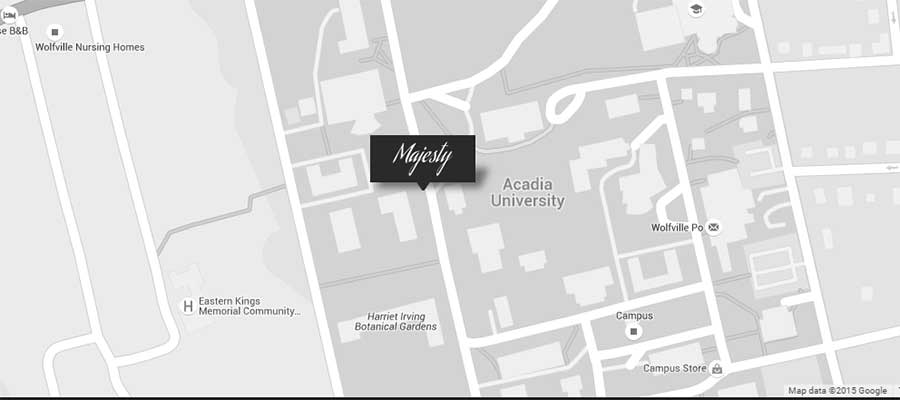
- Go to theme options > general settings > in field Google Maps API add your API More info
- Edit row settings and from field Row stretch select Stretch row.
- From popup Visual composer click tab by samathemes and select Custom Google map.
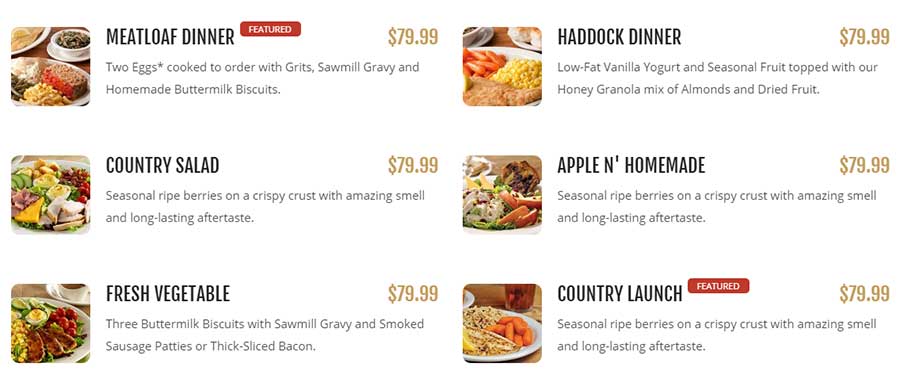
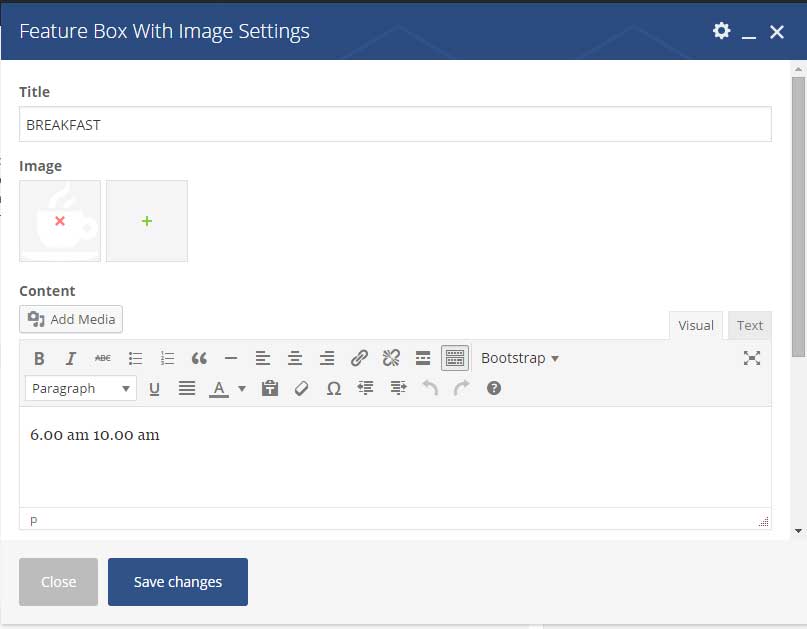
Block 12 Feature Box With Image -Block 12
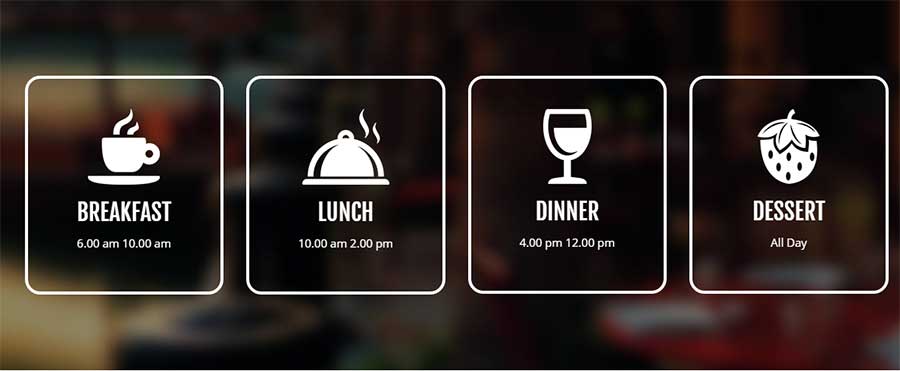
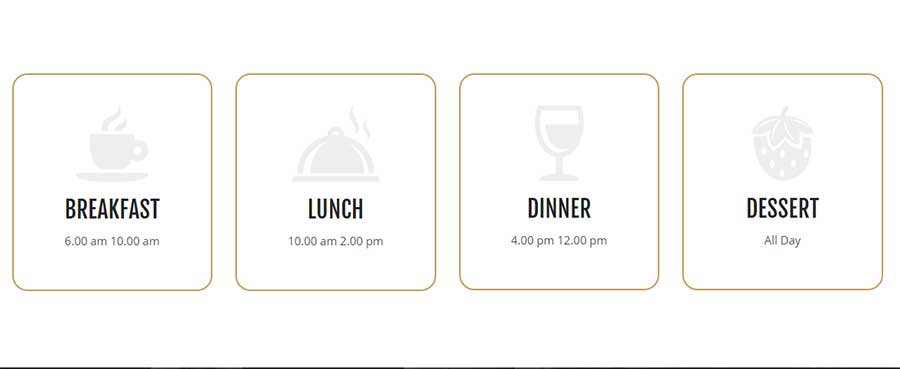
- From Visual composer click add new element open popup.
- click tab by samathemes.
- click Feature Box with image.
- Add your title ex: BREAKFAST.
- Upload Your image.
- Add Your content.
Block 13 Blog Grid -Block 13
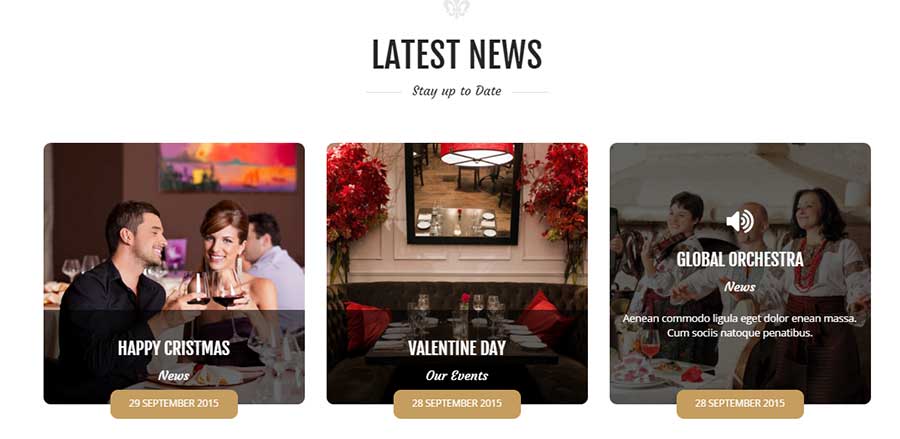
- From Visual composer click add new element open popup.
- click tab by samathemes.
- click Blog Grid.
Block 14 Text Block -Block 14
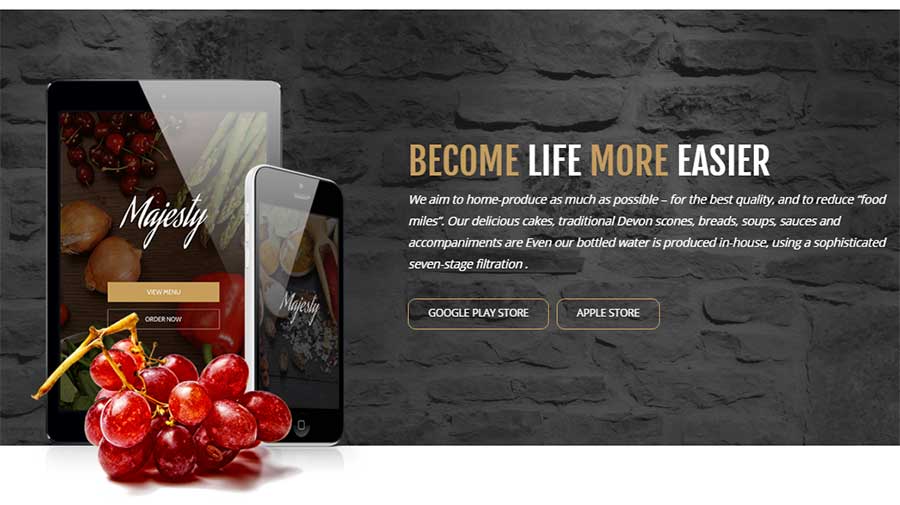
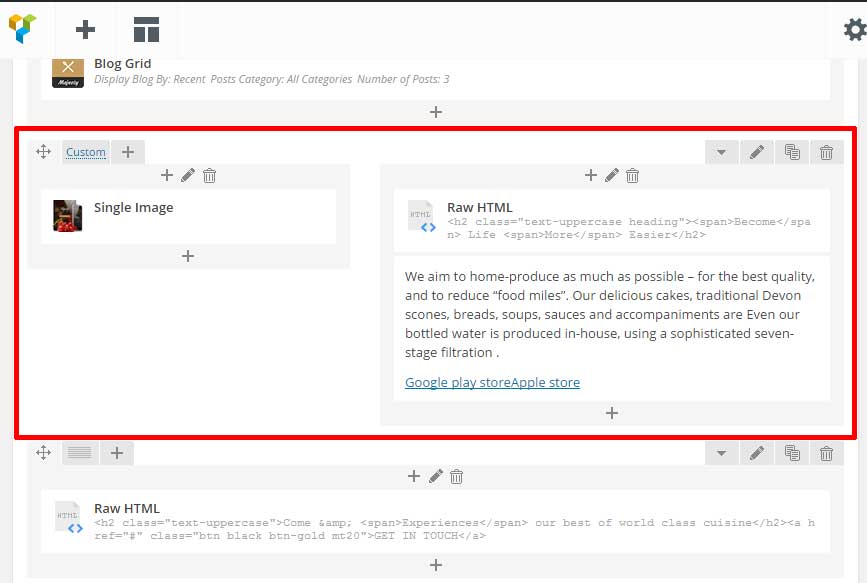
- Make your row 2 columns.
- Edit row settings from field Choose extra CSS class select APP BLocks.
- From Visual composer click add new element open popup.
- select single image, uplad your image and in field Choose extra CSS class select Left For App Block.
- in column two add RAW HTML and add code under.
- in column two add textblock and add content you need.
<h2 class="text-uppercase heading"><span>Become</span> Life <span>More</span> Easier</h2>
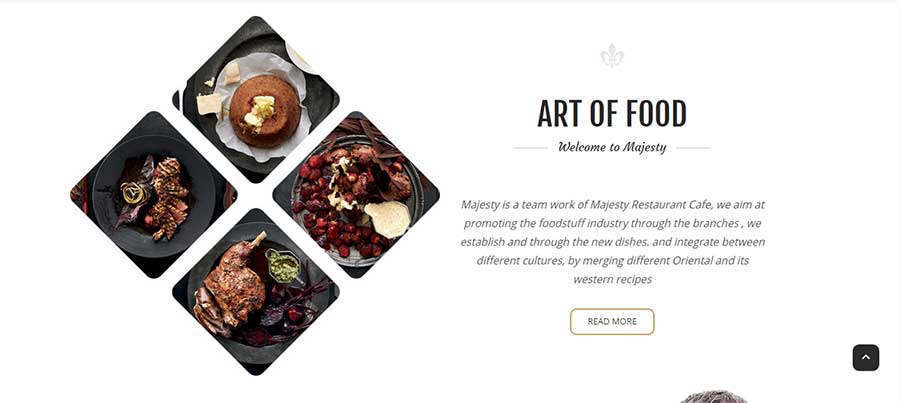
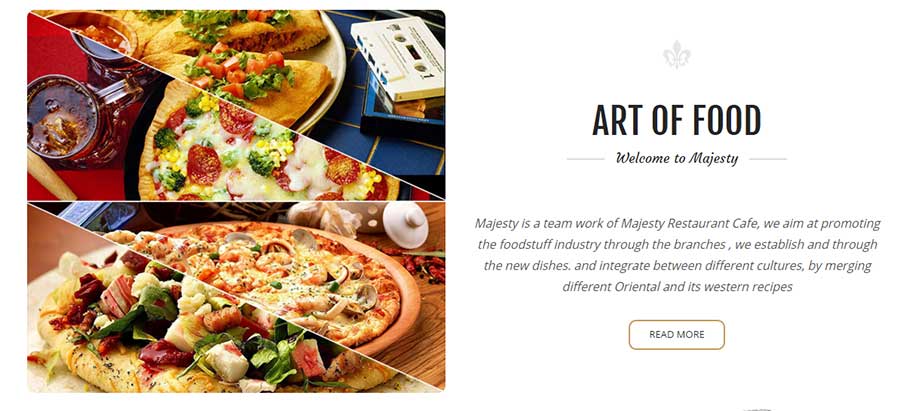
Block 15 Text Block -Block 15
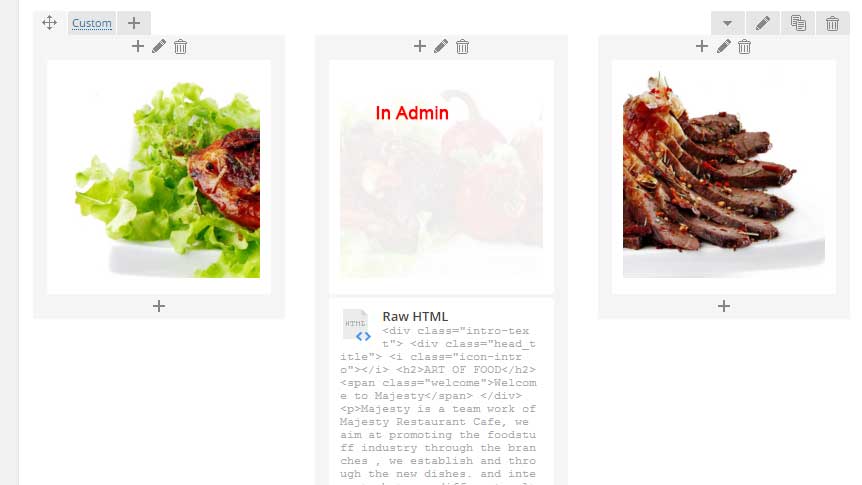
- Make your row 3 columns.
- Edit row settings and from field Row stretch select Stretch row.
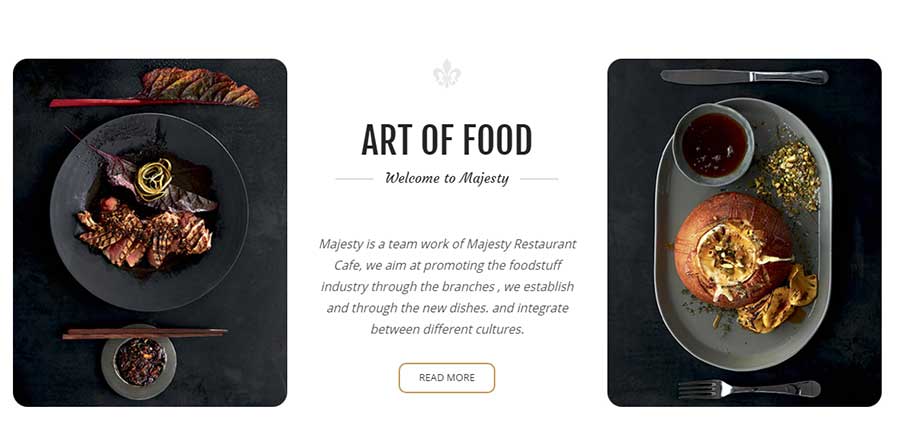
- Edit row settings and from field Choose extra CSS class select Art Block.
- First Column
- Edit Column settings from field Choose extra CSS class select no Padding.
- From Visual composer click add new element open popup.
- click add new Text Block.
- ADD Image and don't forget to add css class 'img-responsive'
- Second Column
- Edit Column settings from field Choose extra CSS class select paragraph With absolute position.
- Edit row settings from field Extra class name Add CSS CLASS nopadding.
- From Visual composer click add new element open popup.
- click add new Text Block.
- From Visual composer click add new element open popup.
- Click Add RAW HTMLand code under.
- Third Column
- Edit Column settings from field Choose extra CSS class select no Padding.
- From Visual composer click add new element open popup.
- click add new Text Block.
- ADD Image and don't forget to add css class 'img-responsive'
<div class="intro-text">
  <div class="head_title">
   <i class="icon-intro"></i>
   <h2>ART OF FOOD</h2>
   <span class="welcome">Welcome to Majesty</span>
  </div>
<p>Majesty is  a team work of  Majesty Restaurant Cafe, we aim at promoting the foodstuff industry through the branches ,
we establish and through the new dishes. and integrate between different cultures,
by merging different Oriental  and its western recipes</p>
<a href="http://themeforest.net/user/samathemes/portfolio" class="btn btn-gold">READ MORE</a>
</div>
Block 16 Text Block -Block 16

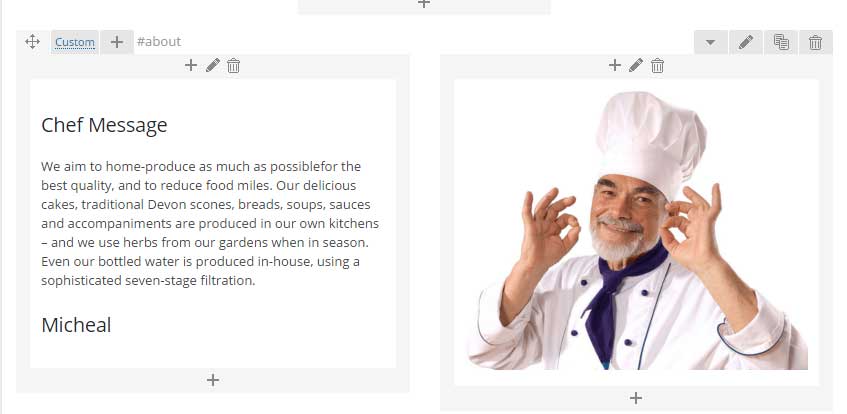
- Make your row 2 columns.
- Edit row settings from field Choose extra CSS class select Chef Block Style 1.
- From Visual composer click add new element open popup.
- click add new Text Block.
- to get signature font please add css class 'signature' to elemet in theme i add this class to h2.
- in column two add new text block and upload your image and add css class 'img-responsive' to image.
Block 17 Text Block -Block 17
- Make your row 3 columns.
- Edit row settings from field Choose extra CSS class select paragraph welcome block.
- upload your image and add css class 'img-responsive' to image.
Block 18 Text Block -Block 18
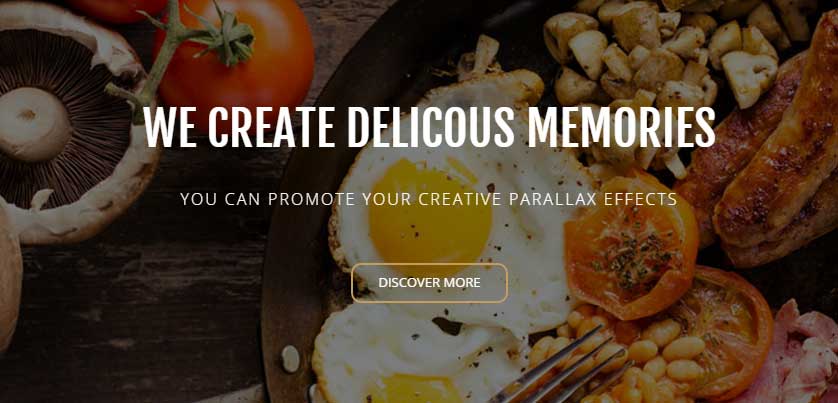
- Edit row settings from field Choose extra CSS class select paragraph discover.
- Create Parallax Background.
- Add your content inside text block.
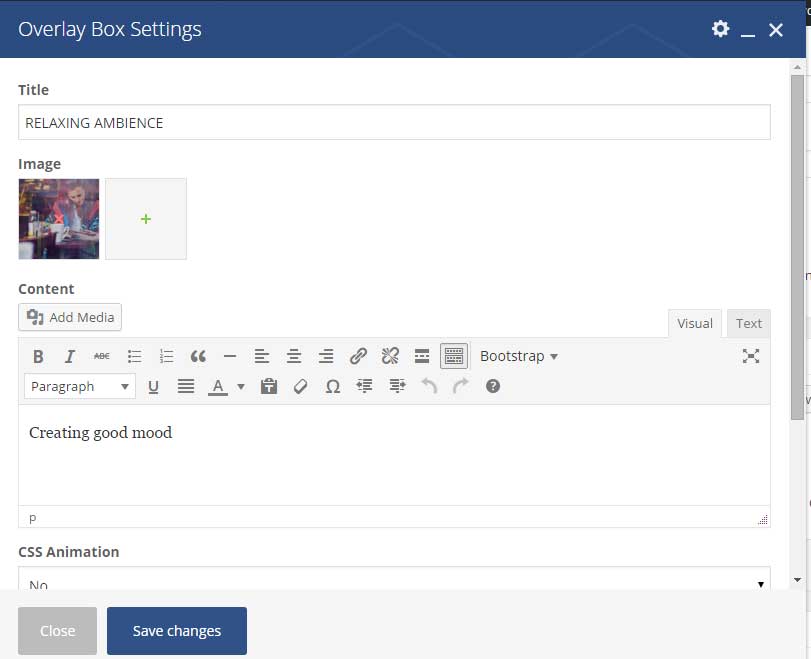
Block 19 Overlay Box -Block 19
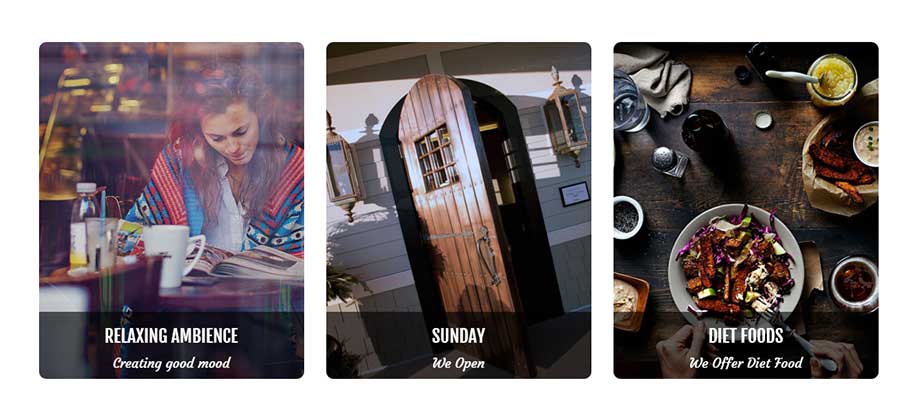
- From Visual composer click add new element open popup.
- click tab by samathemes.
- click Overlay Box.
- upoload your image and add title and content.
Block 20 Text Box -Block 20
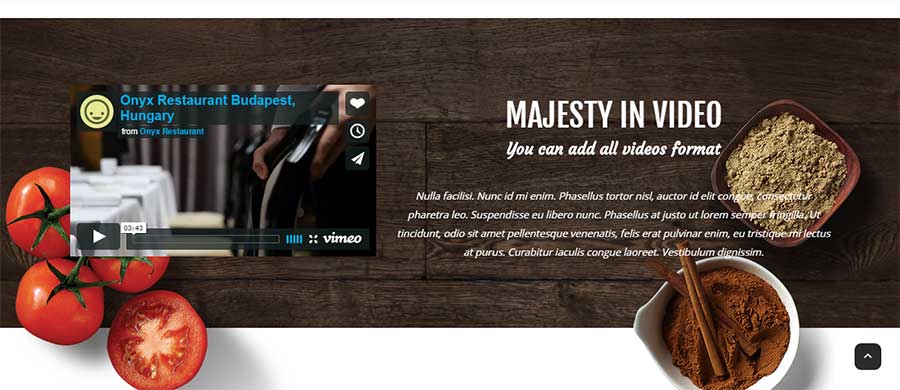
- Edit row settings from field Choose extra CSS class select Video Block with image aboslute positions.
- Edit Column settings from field Choose extra CSS class select Columns have image with absolute position.
- wrap viemo vido like code under.
- click tab by samathemes.
<div class="embed-responsive embed-responsive-16by9 embed-responsive embed-responsive-16by9">
<iframe class="embed-responsive-item" src="https://player.vimeo.com/video/23851992" width="500" height="281"></iframe>
</div>
Block 21 Text Box -Block 21
- Make your row 2 columns.
- Edit row settings from field Choose extra CSS class select paragraph welcome block.

Block 22 FAQ Box -Block 22
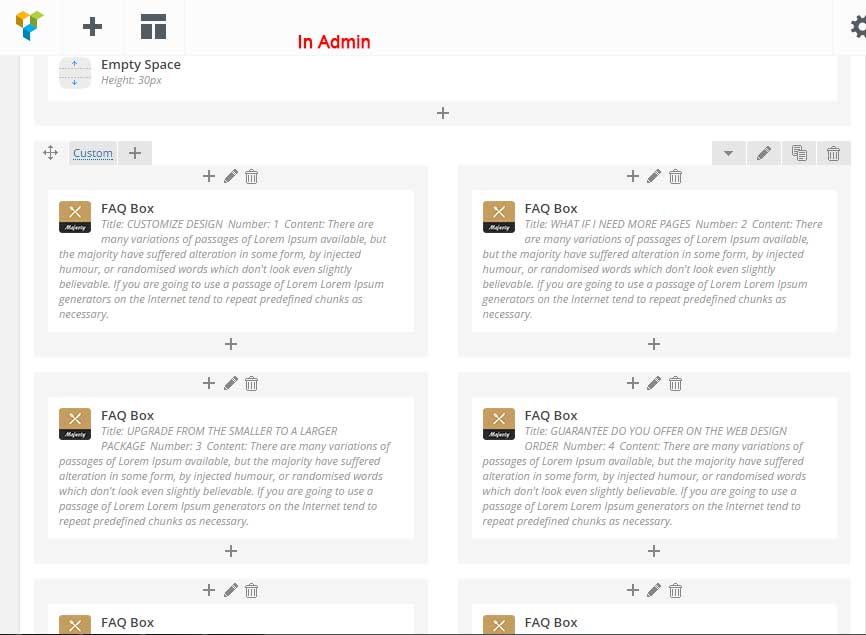
- Make your row 2 columns.
- From Visual composer click add new element open popup.
- click tab by samathemes.
- click FAQ Box and add your content.
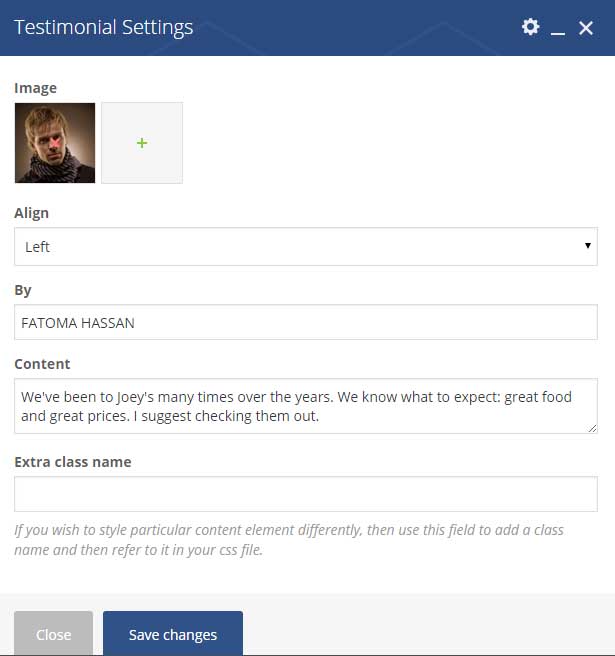
Block 23 Testimonial -Block 23
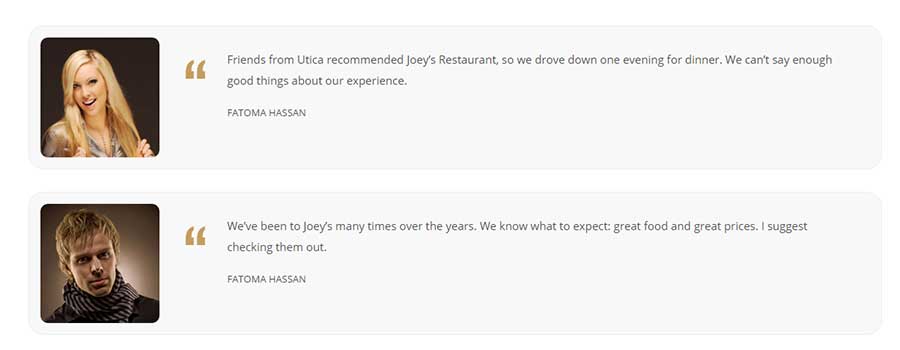
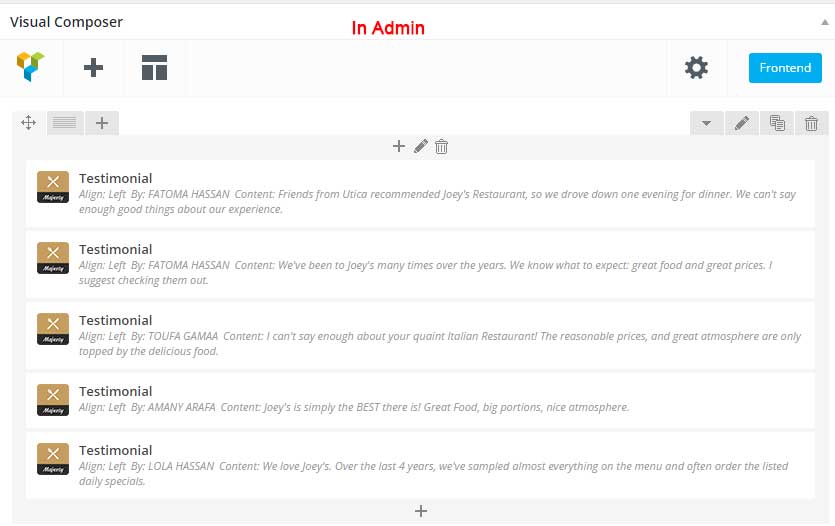
- From Visual composer click add new element open popup.
- click tab by samathemes.
- click Testimonial and add your content.
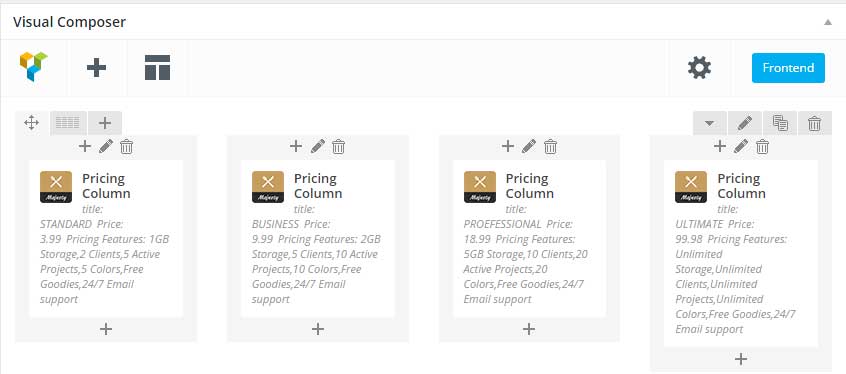
Block 24 PRICING TABLE -Block 24
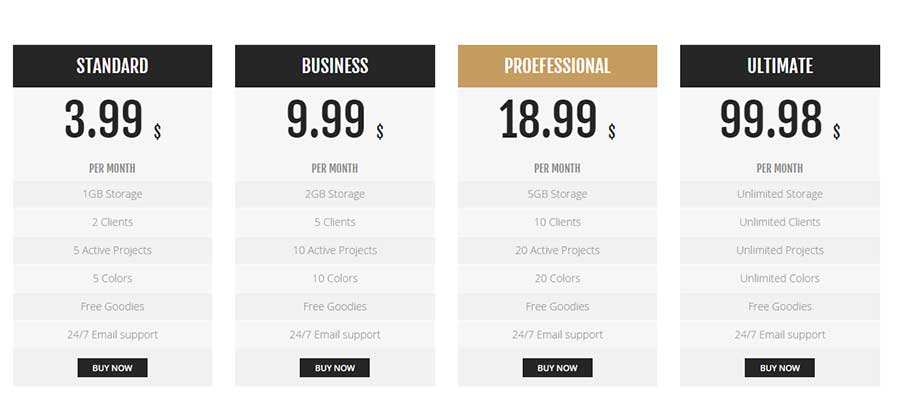
- If you need pricing table without no margin Edit row settings from field Choose extra CSS class select Pricing table without margin.
- make your row four column see above image.
- From popup Visual composer click tab by samathemes and select Pricing Column.
- Field title: Ex: STANDARD.
- Field Column Style: Select Dark or any vlaue from dropdown menu.
- Field Price: EX: 3.99.
- Field Currency: EX: 3.99.
- Field %: EX: per month.
- Field Pricing Features: [Input price column features here. Divide values with linebreaks (Enter)]
1GB Storage
2 Clients
5 Active Projects
5 Colors
Free Goodies
24/7 Email support
- Add content to othere fields.
